
Capturing stunning photos in low-light conditions can be challenging, even with the most advanced smartphone cameras. However, by adjusting the right smartphone settings, you can dramatically improve the quality of your low-light photography. This article will guide you through the best smartphone settings for taking breathtaking photos in dimly lit environments, covering everything from adjusting ISO and shutter speed to utilizing Night Mode and Pro Mode features.
Whether you’re a seasoned photographer or just starting out, understanding how these settings work is crucial for maximizing your smartphone camera’s potential in low light. Learn how to take control of your smartphone camera settings and unlock the ability to capture incredible low-light photos that truly capture the essence of the moment. Discover the best settings for your device and elevate your low-light photography skills to the next level.
Use Night Mode
Modern smartphones often include a dedicated Night Mode setting. This feature is specifically designed to improve image quality in low-light conditions.
Night Mode works by taking multiple exposures at different shutter speeds and then combining them computationally. This process reduces noise, increases dynamic range, and brightens the image, resulting in a more usable photo.
When to use Night Mode: Use it in environments where light is limited, such as indoors at night or outdoors under dimly lit streetlights. Avoid using Night Mode when capturing moving subjects, as it can lead to motion blur.
Key benefits of using Night Mode:
- Improved Brightness: Captures more light for a brighter image.
- Reduced Noise: Minimizes graininess in low-light photos.
- Better Dynamic Range: Preserves details in both shadows and highlights.
Adjust Exposure and ISO
Exposure and ISO are crucial settings for low-light photography. Proper adjustment can significantly improve image quality in challenging lighting conditions.
Exposure compensation allows you to brighten or darken the image. In low light, you may need to increase exposure to capture more detail. However, be cautious of overexposing, as this can lead to washed-out highlights. Most smartphone cameras allow you to adjust exposure by tapping the screen and dragging a slider up (to brighten) or down (to darken).
ISO measures the sensitivity of your camera’s sensor to light. A higher ISO allows you to capture images in darker conditions without lengthening the shutter speed. However, higher ISO settings introduce digital noise, resulting in grainy images. Experiment to find the highest ISO setting your phone can handle before noise becomes excessive. Ideally, keep the ISO as low as possible while still maintaining a usable shutter speed.
Keep Your Phone Steady
Camera shake is the enemy of clear, sharp photos, especially in low-light conditions. Minimizing movement is crucial for capturing the best possible images. Even the slightest wobble can introduce blur.
Use both hands to grip your phone firmly. This creates a more stable base than holding it with one hand. Find a comfortable and secure grip that allows you to easily access the shutter button.
Consider using a tripod for optimal stability. Even small, portable tripods can make a substantial difference in image quality, especially for longer exposures. If a tripod isn’t available, improvise by leaning your phone against a solid surface like a wall, railing, or even a stack of books.
Turn Off Flash for Natural Light
While your smartphone’s flash might seem like the go-to solution in low light, it often results in washed-out images and unnatural colors. For a more pleasing and natural look, disable the flash and allow your camera to utilize the available ambient light.
This encourages the camera to use a slower shutter speed, gathering more light and detail from the scene. It’s crucial to keep your phone steady during this longer exposure to avoid blurry pictures. Consider using a tripod or stabilizing your phone against a solid surface.
Embracing the existing light sources, even if they seem dim, can lead to more atmospheric and compelling photos. Experiment with the shadows and highlights present in the environment to create unique and artistic images. You’ll be surprised by the results you can achieve without resorting to artificial light.
Edit with Noise Reduction Tools
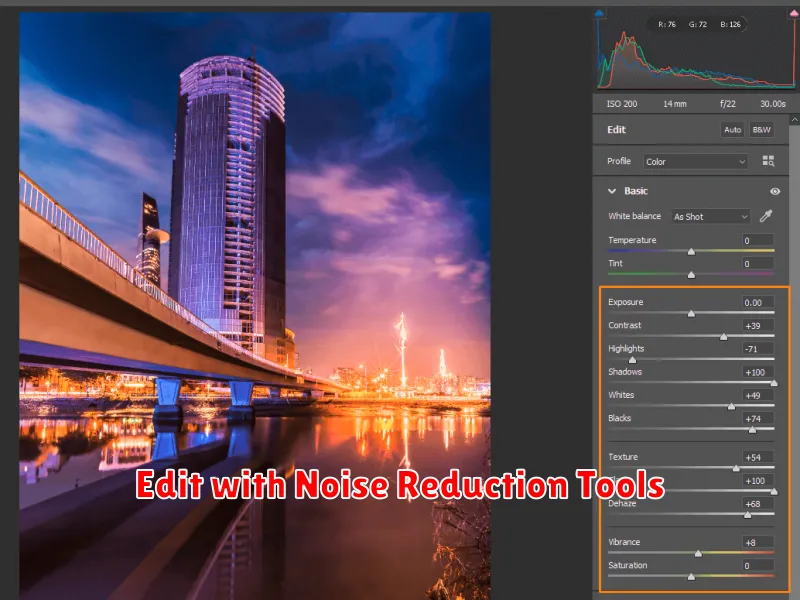
Even with the best settings, low-light photos can exhibit noise (graininess). Fortunately, most editing apps offer noise reduction tools. These tools analyze the image and attempt to smooth out the grain while preserving detail.
Be cautious when applying noise reduction. Too much reduction can make the image look artificial and blurry. Experiment with the intensity slider to find the right balance between reducing noise and maintaining detail. Some apps offer more advanced controls, such as luminance noise reduction (targets brightness variations) and chrominance noise reduction (targets color blotches). Understanding these options can provide greater control over the final result.